How to add virtual try-on to a Shopify store
The install is a theme app embed with no code edits. The decisions: which products to switch on, where the trigger renders, and how variants and credits behave.
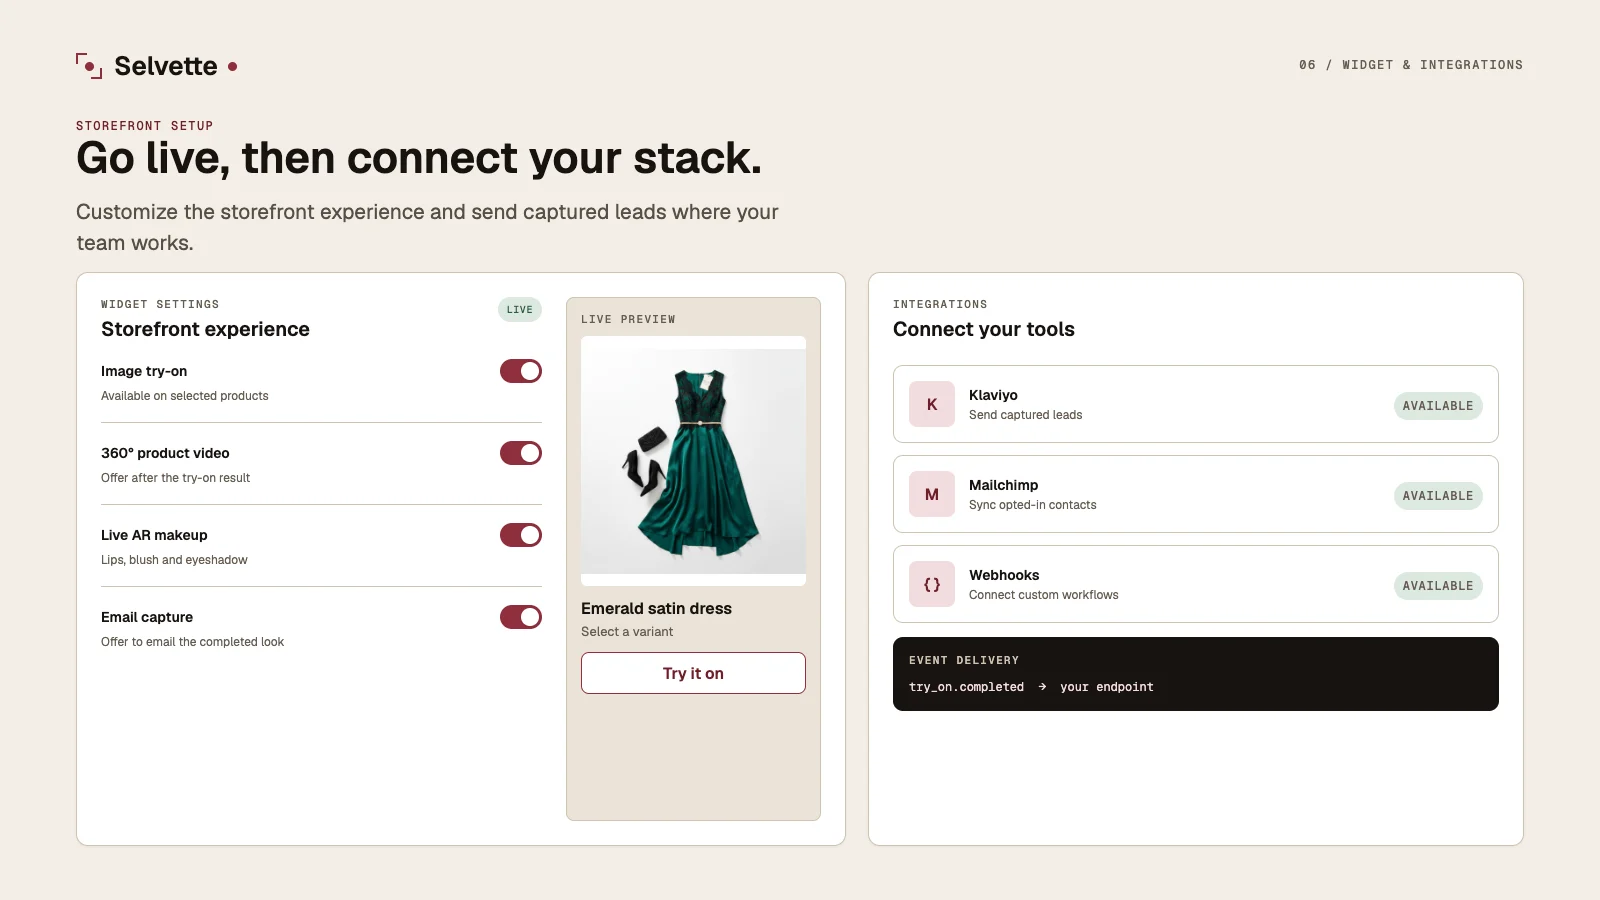
The part of this that is code
None of it. Try-on installs as a theme app embed, and you enable it from the theme editor in the same panel as every other embed already running on your store. No duplicated product template, no snippet pasted into a Liquid file you are then afraid to touch, no developer booked for Thursday.
It runs on the product photos already sitting in your admin. There is no asset library to fill first and no reshoot to commission before a shopper sees anything.
Shopify is the one-click install. Everywhere else there is a snippet that does the same job, and an agency running client storefronts runs all of them from a single balance rather than a separate account per site.
Enable the embed, then leave the catalogue alone
Switching the embed on puts the widget on the storefront. It does not switch try-on on for 400 products, and you should not want it to.
Enable it per product first, then per collection once you know what good looks like on your own range. Start where the photograph leaves a question open: the dress whose weight and fall you cannot read from a flat-lay, the colourway you shot once on a hanger, the jewellery whose scale means nothing against a white background. A plain black tee has no question to answer, so it learns you nothing.
There is a measurement reason for this as well as a taste one. If you switch on the entire catalogue in one afternoon, your first read of whether try-on works is an average across products where it never had anything to prove.
Where the trigger renders, and why it sometimes moves
The widget renders inline, under the buy buttons, wherever your theme gives it a place to sit. Where the theme does not — a heavily customised product template, a page-builder section that owns its own container, a form with no block underneath it — it falls back to a floating trigger instead of failing quietly.
You do not have to work out in advance which case you are in. Open a product page after you enable it and look. If the trigger is floating and you would rather it were inline, that is a theme layout conversation, not an app one.
The behaviour that matters more: it never blocks Add to cart. A shopper who has no interest in try-on gets the page they had yesterday, with the same buy button in the same place. Nothing gates the purchase, and there is no account to create before anything works.
Variants, and checking they are honoured
The variant selected on the page is the variant that gets tried on, and the variant that goes into the bag. A shopper who picked the green colourway gets the green colourway back, not a generic version of the product.
Confirm it once anyway, as part of checking the install rather than the feature: open a product with several colours, switch the variant, run try-on again, and watch the result change with it. It takes a minute and it tells you the embed is wired to your theme's variant selector.
The same distinction runs the other way through the Studio. Results land in a gallery, and you publish them straight to a Shopify product or to a specific variant, so an on-model shot of the green dress attaches to the green dress rather than to the product as a whole.
Credits, caps, and what a run costs you
One AI image is 1 credit. One 360° video is 10 credits, on Pro and above. A generation that fails costs nothing: the credit is reserved when the job starts and released if it fails, errors, or is rejected before delivery.
The honest boundary on that: a result that arrives and simply is not what you hoped for still spends its credit. Credit is released on failure, not on dissatisfaction, and no satisfaction refund exists to lean on.
Your balance is shared across every store you connect, while a plan is billed per store. The monthly allowance resets on your billing anniversary rather than the 1st. Overage is off by default; if you switch it on it runs from 13¢ down to 9¢ per image depending on plan, with a monthly cap you set yourself.
One thing to plan around before you pick a tier on the pricing table: the same balance covers shopper try-ons, Studio images and video. The 1,050 credits on Pro are not 1,050 try-ons in a month when you are also shooting a new range. Live makeup AR is the exception — it does not spend credits, and each plan carries its own monthly view allowance instead.
Going live without a launch day
Walk the flow yourself, on a phone, on a real product page. Does the trigger appear where you expect. Does the camera permission prompt read like something a shopper would agree to. Does the result arrive — an image takes about 6 seconds — and does it still look like your product when it does. Does Add to cart still work afterwards.
Then decide what happens around the result. Email capture is optional, and you choose whether it appears before or after the shopper sees the image. Putting it before means you are asking for an address in exchange for something the shopper has not seen yet, which is a different bargain from asking once they have. Run it both ways on the same collection and let the counts settle it — that is one of the few questions here you can answer inside a fortnight.
Once one collection has been running long enough to produce numbers, widen a collection at a time rather than all at once, so you can still tell which change did what. The use-case pages cover what this looks like for bridal, boutiques and beauty, where the question the photograph fails to answer is different in each case.
Two things to sort before you point paid traffic at it: what you tell shoppers about their photo, covered in the privacy checklist for photo-upload try-on, and what you are going to instrument so the result is legible later.
FAQ
Do I need to edit my theme code to add virtual try-on?
No. Try-on installs as a theme app embed and is enabled from the theme editor, alongside the other embeds already running on your store. There is no template to duplicate and no Liquid file to edit. Selvette also runs on non-Shopify storefronts through a snippet, and one balance can cover several stores, which is how agencies run multiple client sites without a separate account for each.
Where does the try-on trigger appear on the product page?
Inline, under the buy buttons, on any theme that gives it a place to render. On themes that do not expose a block there, it falls back to a floating trigger rather than disappearing. In both cases it never blocks Add to cart, so a shopper who does not want to try anything on can buy exactly as they did before.
Can I enable try-on for only some products?
Yes, and starting that way is worth the extra few minutes. Try-on is enabled per product, and per collection once you want to widen. Beginning with the products whose photographs leave a real question open gives you a cleaner read than switching on a whole catalogue at once, where products that had nothing to prove drag the average.
What happens if a generation fails?
It costs nothing. The credit is reserved when the job starts and released if the job fails, errors, or is rejected before delivery. This is a failure release rather than a satisfaction refund — a result that arrives and disappoints you has still been generated, and still spends its credit.